Product photos can make a huge difference when selling products—they draw the viewer’s attention and positively represent your product and business. They help to create a brand image and build trust. High-quality photos that are eye-catching and consistent across your website are more likely to convert into sales.
This article will give you vital information to get the highest quality product photos to increase sales. Further, it includes tips for you to take your own product photos.
Table of Contents
Why product photography increases conversions
6 Types of product photography
3 Ways to get good e-commerce product shots
Tips for taking your own product shots
Editing photos
Posting product photos
When to hire a professional photographer
Why product photography increases conversions
The visual aspects of your website are the first thing customers see—the human brain can process images in only 13 milliseconds. You don’t have much time to make a good first impression. What potential customers see first can be a significant deciding factor in whether they will stay on your site. When asked, 92.6% of people said the visuals are the top influential factor affecting a purchase decision, and the products are assessed within 90 seconds.
Product photos are an essential aspect of building a website that will catch the eye of potential customers and keep them on your site through the purchasing process.
Another thing to consider is that customers don’t have the opportunity to interact with your products directly when purchasing online. So, they rely on the product photos you provide to make their purchasing decision.
6 Types of product photography
You may think taking product photos is easy; you simply take some pictures of your products and upload them to your product page. Unfortunately, it’s not that simple. Product photos come in a variety of styles for a variety of purposes.
Before taking your product photos, it’s essential to understand the difference between the types of product photos so you can choose which works best for your products.
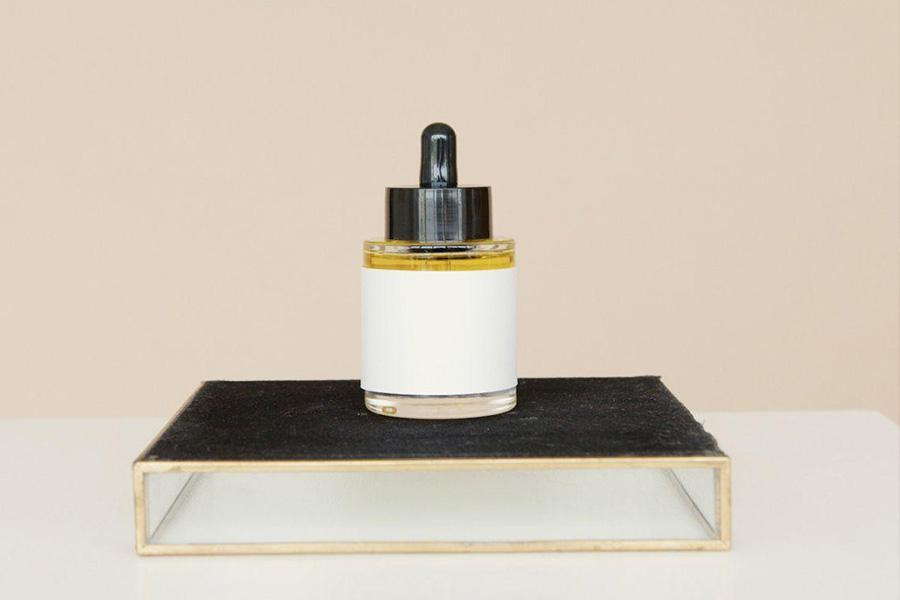
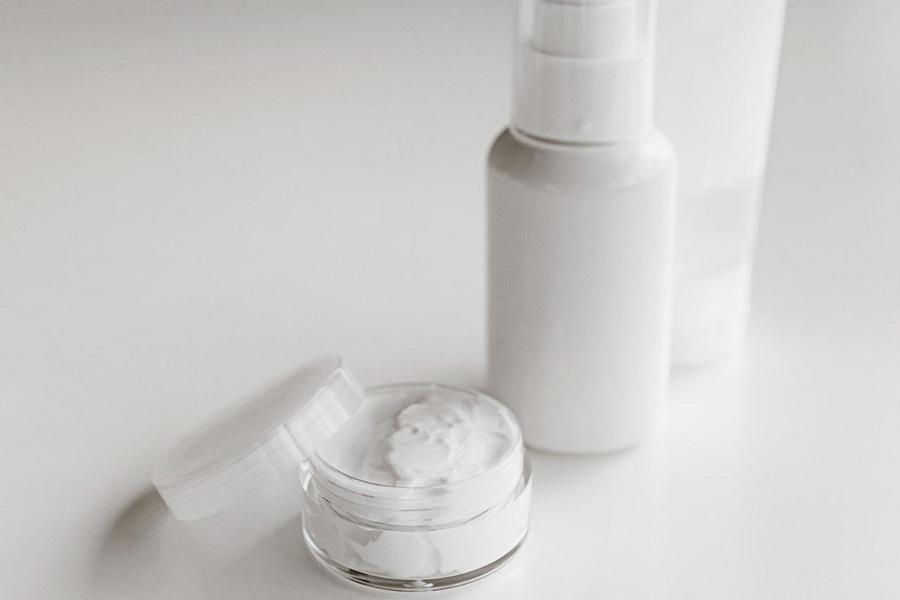
Individual shots
The individual shot is the most common type of product photo—it’s a product photo that contains only one object in the frame.
These photos are often used in product catalogs, banner images, and product pages to showcase individual products.
Group shots
As the name states, group shots contain more than one product together. These photos are best for product kits and collections to show a complete view of your business’s offerings.
These photos are great for social media posts and other advertisements as they give potential buyers a taste of your brand.
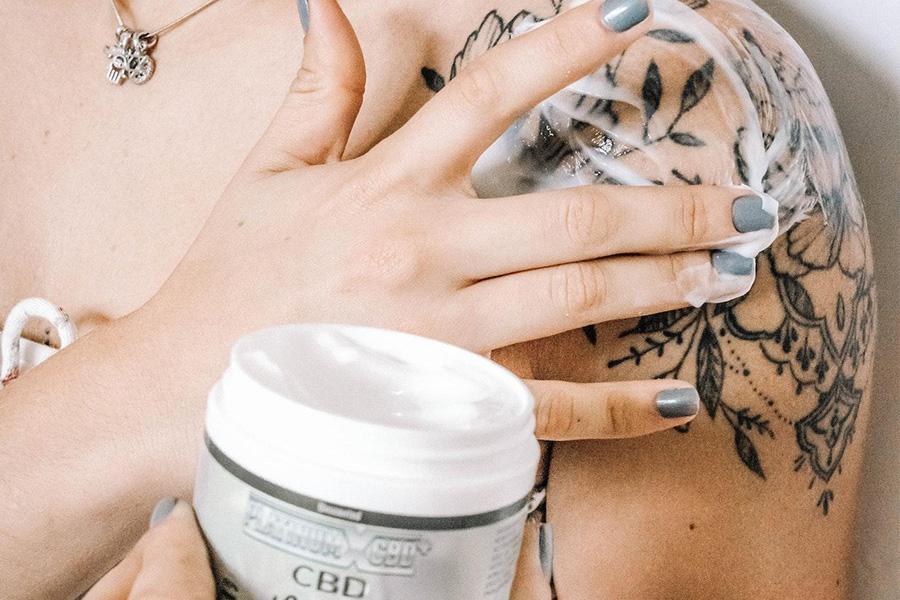
Lifestyle shots
Lifestyle shots show your product in action and often contain a model. These photos tell the story behind your product and show how it will be used in the customers’ daily life.
These photos can complement individual shots on product pages. They’re also well suited for social media, emails, ads, and other visual channels since they make products feel more personal.
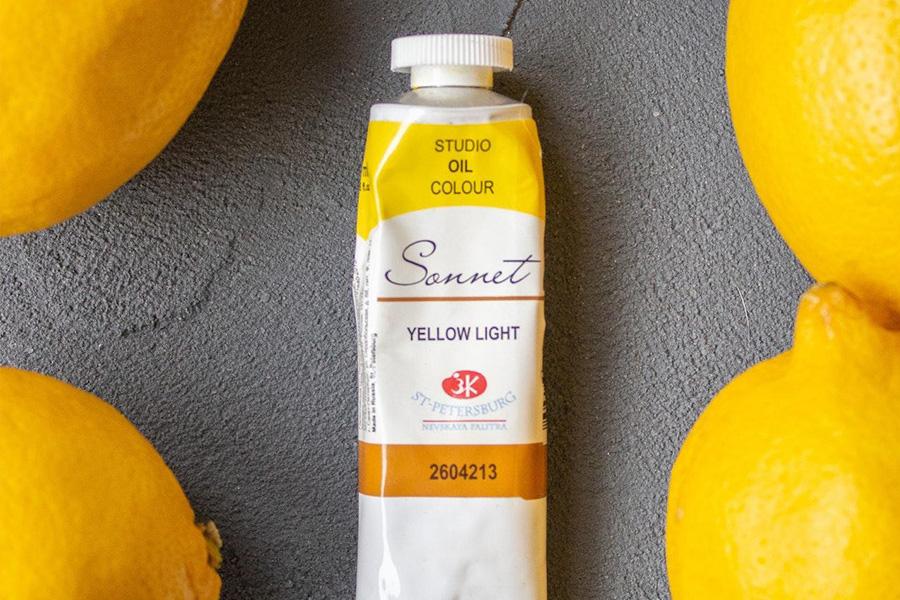
Scale shots
Scale shots help customers get a better idea of the actual size of a product by comparing it with other everyday items placed strategically in the photo. Also, they help them visualize the product in their lives and increase confidence when purchasing.
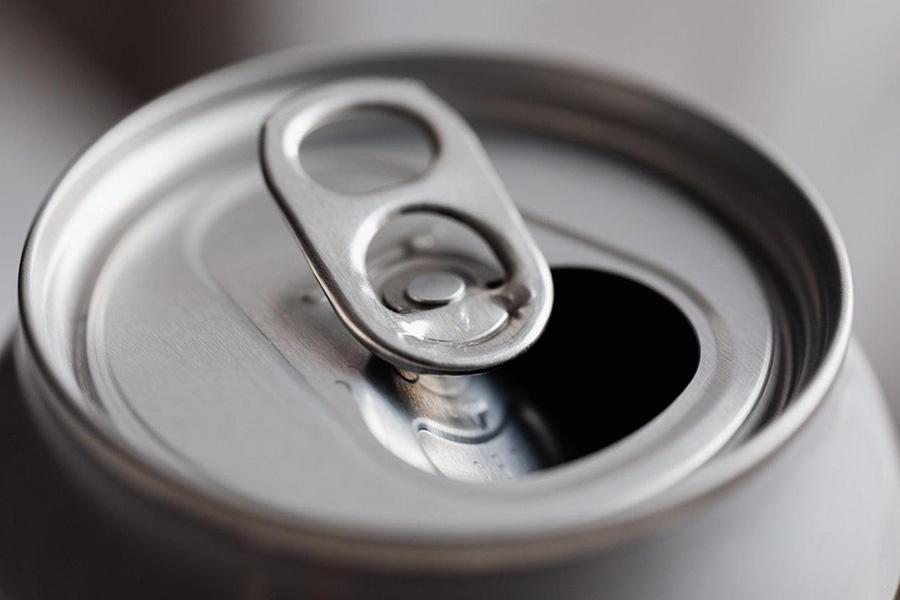
Detailed shots
Some products have small details that are challenging to capture in individual shots; that’s where detailed pictures come in. These are closer-up photos that show those intricacies that can be missed in other product photos.
This type of photography may require specific lighting and equipment to capture these details.
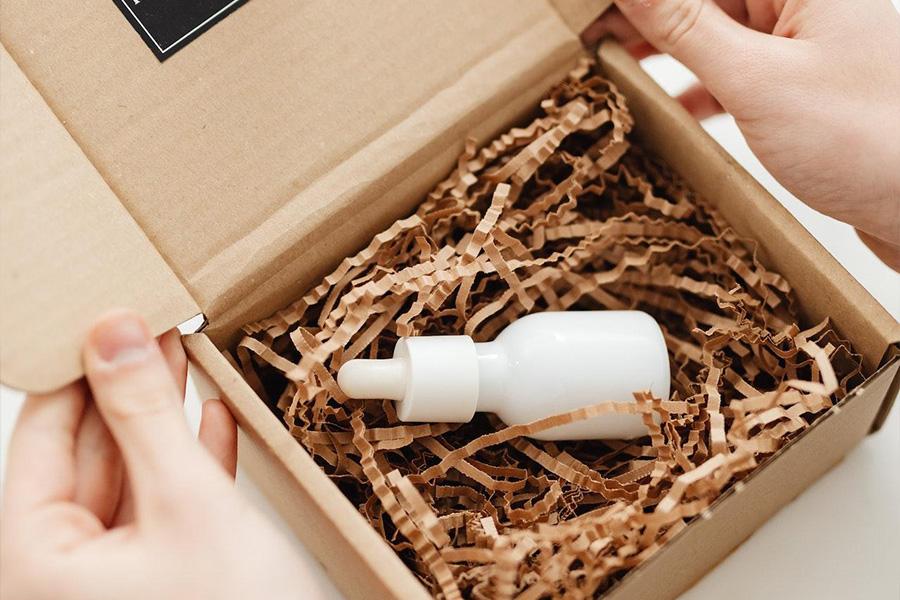
Packaging shots
Many customers care about the packaging of your products. If you’re taking the time to think about beautiful branded packaging, why not feature it on your product page?
As you can see, you are likely to use a few of these different types of shots when taking product photos for your e-commerce website as advertising campaigns.
3 Ways to get good e-commerce product shots
There are three main ways to obtain or capture product photos (taking the photos yourself isn’t the only option).
Source existing product photos from manufacturers/suppliers
Depending on your fulfillment methods and if your company assembles or manufactures the products itself, there may be an opportunity to use product photos that have already been taken.
So, before you spend the money or take the time to shoot your photos, consider reaching out to manufacturers and/or suppliers to get access to existing images.
Note that there are a few things to consider when using these types of photos:
- Know the terms of use.
- Ensure they’re the highest quality photos.
- Edit the images to fit the format and sizing of your website.
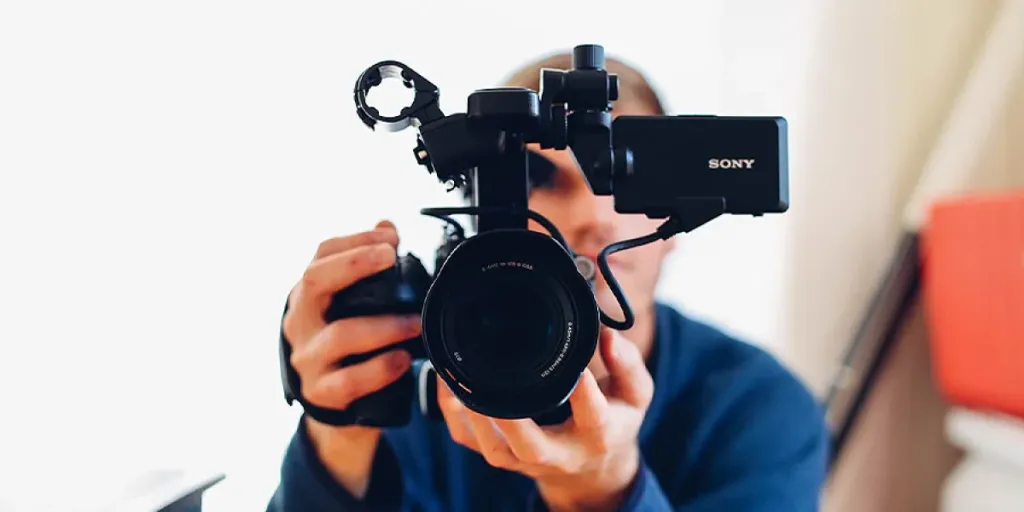
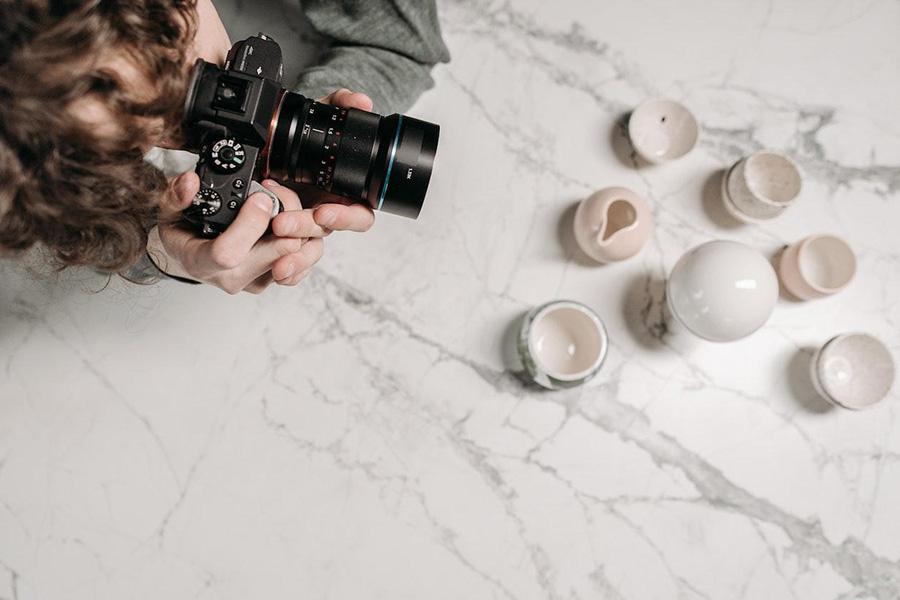
Take your own photos (or hire someone to)
Of course, you can take your own product photos or hire a professional photographer to take product photos. In the following sections, we will discuss everything you need to know to take quality product photos.
Use automated product mockup generators
You can use mockup generators to create quality product photos for specific apparel and lifestyle products—this is particularly effective for products where you print a design on the item, like sweaters, phone cases, mugs, etc.
Tips for taking your own product shots
Once you’ve determined the product photos you need to get to build your website, it’s time to take the pictures. Here are some tips for taking quality product photos.
Photography guidelines
Before taking product photos, it can be helpful to create photography style guidelines. These will help ensure consistency across all images to create a solid brand image.
A style guide for product photos should contain the following elements:
- Color palette
- Saturation
- Focal length
- Shadows
- Composition
- Location and context
Set up the background
When setting up the background for your product photos, remember you want the focus to be on the product.
You will want to set up a light background for individual product photos, or for smaller products, you can use a light tent. This means less editing background afterward.
For lifestyle photos, you want to take the time to consider the most appropriate locations that are related to the product use and where buyers can see themselves using the product. Consider your target demographic and hiring models that will fit that demographic.
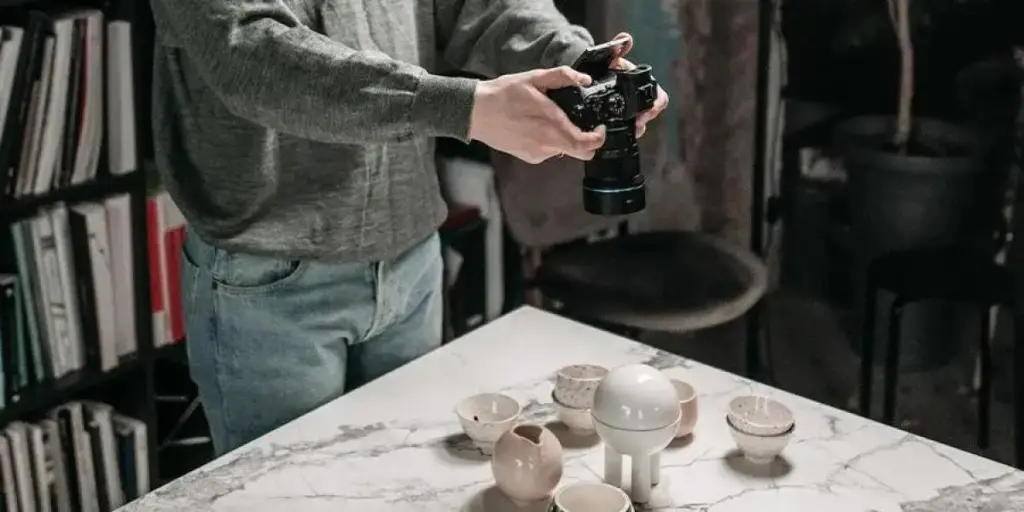
Product positioning
Lighting is one of the most important things to consider when positioning your products. If you are shooting in a studio, you will likely want to invest in quality lighting. If you’re shooting outside, research the best way to get quality photos with natural lighting.
You will also want to ensure you get a few different types of photos. Such as;
- a simple individual shot with a white background that contains the entire product
- detailed shots if necessary
- scale shots
- group shots that show product variations or kits
- packaging shots

Shooting with your phone
You can use your smartphone to take product photos if you don’t want to invest in an expensive DSLR camera. But ensure you’re making the most of its features to get the best quality photos.
Use the grid; it’s great for dividing your shot and keeping your lines level.
iPhone has ‘burst mode’, where you can quickly get several pictures and choose the best one.
Take advantage of HDR (High Dynamic Range), which mixes different levels of exposure to create one detailed shot.
Some apps help you get better-quality photos on your smartphone—try Camera+ for iPhone or Camera Zoom FX for Android.
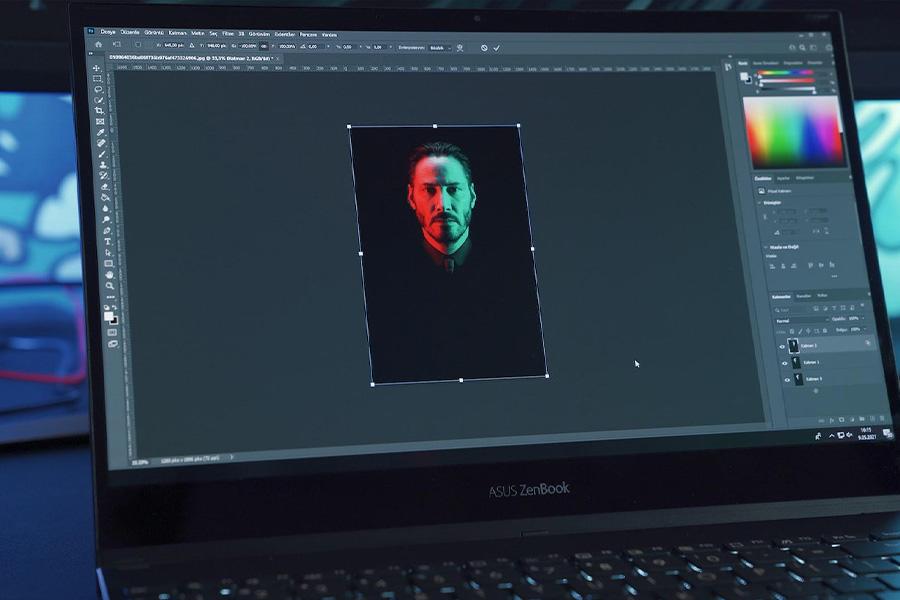
Editing photos
Once you’ve taken the product photos, you will need to edit them to take them to the professional level.
Learning the editing skills necessary to create consistent, high-quality product photos may take time. Here are things you want to consider when editing;
- Remove backgrounds for consistent individual photos
- Remove blemishes like glare and reflections
- Correct the color so it looks identical to the product
- Optimize for white balance, contrast, exposure
- Improve sharpness
- Straighten, crop, and resize batches
- Incorporate shadows for effect
Do not use filters.
Posting product photos
Congrats on getting your photos edited! Now, it’s time to upload them to your website—there are a few things to remember when posting product photos.
- All images need to be consistent. Not only do you want all your photos to fit your brand.
- Consider image size. Product photos must be large enough (min. 1,600 pixels) to ensure customers get quality photos. However, you don’t want the images to be so large that they impact load time. (Tip: consider incorporating a zooming tool on your e-commerce site.)
- Optimize photos with metadata for SEO.
When to hire a professional product photographer
While you may be able to take some product photos with your phone, you likely don’t have the equipment to achieve the highest quality photos on your own. Professional photographers also have extensive experience editing photos that create the brand consistency you seek. So, professional photographers can produce the highest quality photos quickly. They also have experience working with models if you’re creating lifestyle shots.
Conclusion
Good quality product photos are one of the important building blocks in creating a professional website that sells products. Product photos help build your brand image and tell the story of your products, which are incredibly important when selling online. When potential buyers cannot pick up and touch your products, they need to establish confidence in your products that convinces them to buy, and images can do that. Take the time to think about the types of product shots you need for your business, and if you’re taking the pictures yourself, set up the shoot with a thoughtful background and the best lighting. Also, take the time to teach yourself about editing photos; this can make all the difference in creating professional quality product photos.
If you’re not confident in taking the product photos yourself, look into whether manufacturers have existing photos, if you can use mockups, or if you have the budget to hire a professional photographer.