Using high-quality images for your online promotion is a no-brainer. In fact, online websites with product photography receive 94% more views than those without, while blogs (which usually have images) are 63% more likely to influence purchase decisions than magazines. This kind of data makes sense when paired with the growth of image-based social media giants, such as Instagram and Pinterest.
Experts recommend that of a company’s total marketing budget, 15% to 25% be spent on social media marketing, as they believe that social media images have a huge influence on consumer purchase trends. To capitalize on these trends, you should be taking great product photos to build your brand and use in your marketing strategy (including advertising on social media) for higher online sales.
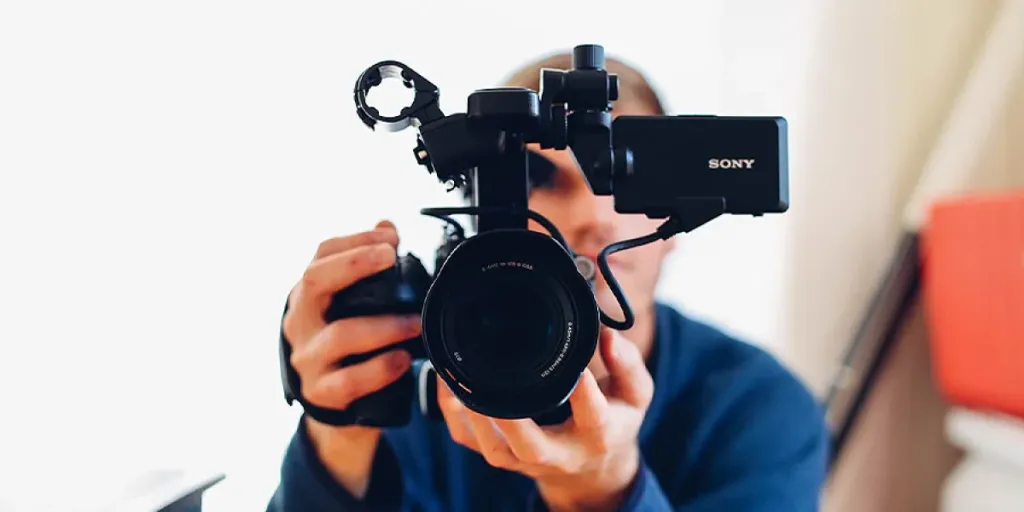
Today, taking a product photo that will multiply sales for online stores does not have to be expensive if you know what you are doing (you can even use your phone!), so do not panic. In this article, you will learn about the different types of e-commerce product photography and what their uses are, what tools you need to take great product photos, and how to go about it.
Table of Contents
The different types of e-commerce product photography
The tools you need to create engaging product photos
How to take great product images in 7 steps
Lights, camera, action!
The different types of e-commerce product photography
Products can be shown in many different ways — to highlight materials or components, to stir up emotion in the buyer, or to grow a brand’s image. Having the right type, or combination, of photos for your product and brand can increase customer trust and loyalty and help convert sales.
Compatibility photos
These photos are clear portrayals of the product and as such should be taken in high resolution, on a white background, and with good lighting. Compatibility images are key to building customer confidence, as they show the different components and materials of the product, and how they look as a whole.
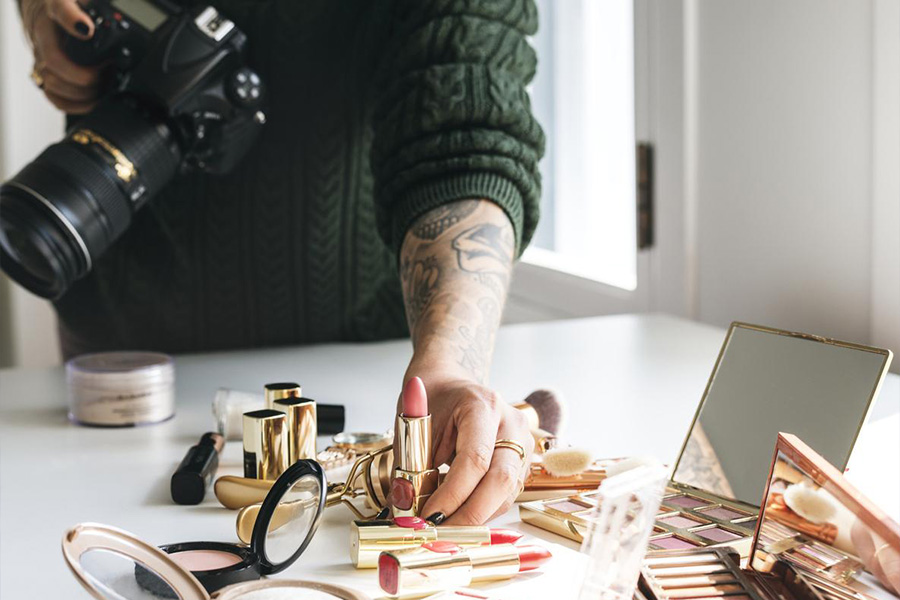
Lifestyle images
These photos allow the buyer to imagine how the product would work in their life. Lifestyle images are best when the product is set up with a natural but beautiful backdrop and surrounded by other items or people that might interact with it — such as models, landscapes, food, wine, or other items depending on the product in question.
Despite the other components, the product should always remain the main focus of the image, and lighting and resolution should be adjusted properly. Lifestyle images are great for stirring up emotion in the buyer, leading them to feel a connection to the product.
Textural images
These photos give an idea of the material, components, and quality of a product, and are particularly favored by clothing and footwear brands. Textural images should be taken close up so that only the texture and material can be seen.
High resolution and lighting are paramount for this type of photo as the customer will be looking to zoom in as much as possible. Textural images are also used to build consumer trust and confidence in your product.
Customer images
These photos help to build trust and serve as social proof, as customers can see that the product you are selling is indeed the same product that arrives. They are also helpful to help customers check sizing and color, among other qualities. These images are taken by the customer.
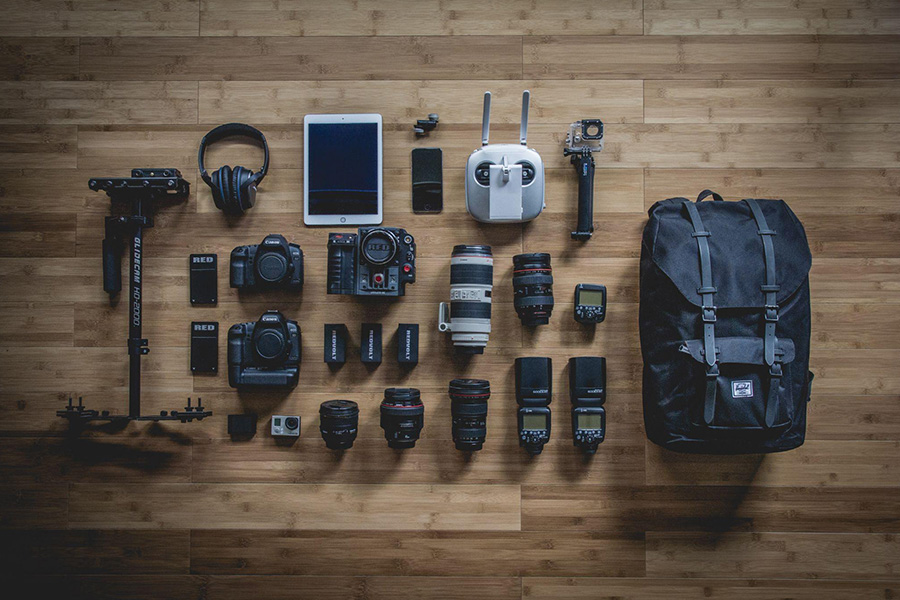
The tools you need to create engaging product photos
When considering the tools needed to take a picture, most people will instinctively think of a good camera. However, there are many other tools required to take a great product picture that will transform your sales. The core components are as follows:
Tripod
A blurry photo is a product killer as it will take away vital information from the customer and can lead them to look elsewhere. To stop blur, be sure to buy a good, stabilizing tripod. For indoor product photos, a large steady tripod will give you better range, while for images that may take you outside (such as lifestyle images), a smaller, more portable travel tripod can be a great option.
An alternative is a monopod, which is perfect for large and heavy cameras where the photographer needs to move around.
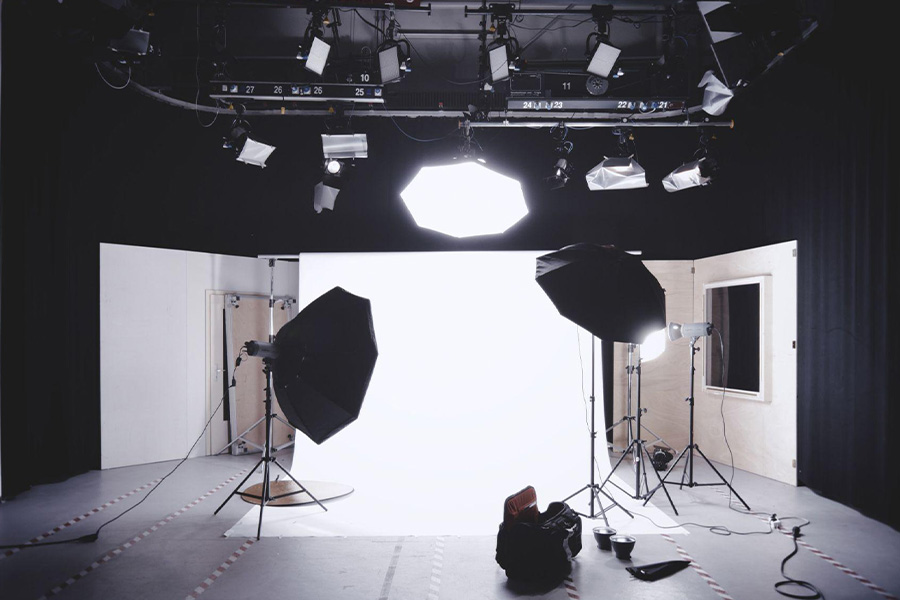
Lighting equipment
Lighting is key to highlighting the features of each product in a way that shows the customer the materials, finish, and colors in the best possible way. This can be achieved with light sources such as studio lighting equipment, from lighting kits for larger items to lighting boxes for smaller products that need a close-up.
Background sheets
A messy background can ruin a product photograph, not only because it takes away from the main focus (the product) but because it makes your brand look unprofessional, which leads to decreased customer trust. The best way to get a clean background, other than using a lighting box, is to use a paper roll or product table. These ensure a clear background that is easy to light up or edit with image processing software.
Background features
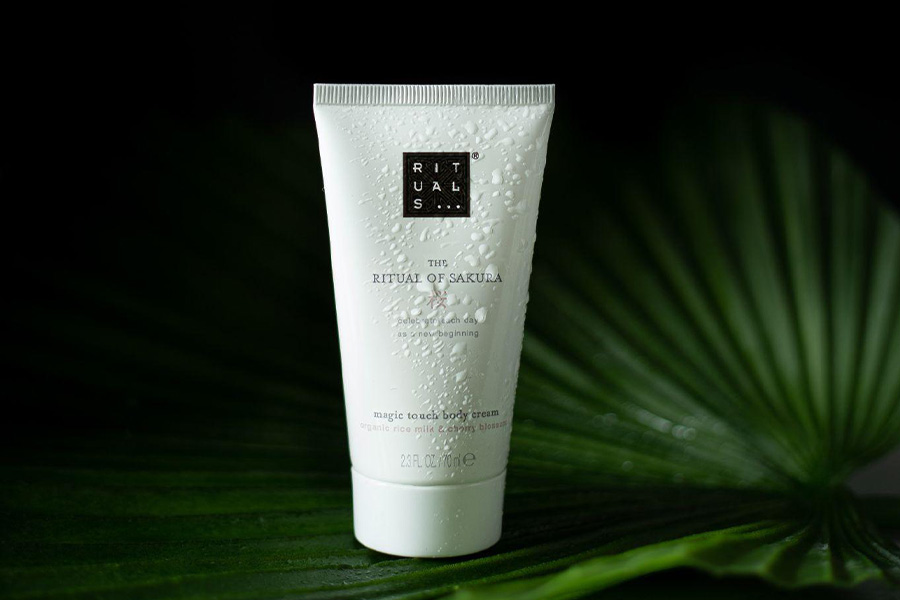
Background features are a great way to highlight the core product. For lifestyle images, background sheets can be a great surface to work with either pre- or post-edit. An example would be using a product table and small paper umbrellas to promote a tropical-themed product.
Alternatively, if using models and objects, consider using a natural backdrop. For example, use dried flowers and wood-based objects to promote eco-type products.
Editing software
The editing process is one of the core parts of taking your e-commerce product photography to the next level in order to multiply your online sales. The most important part of editing is to improve the way that your product is presented.
A product photo can be artistic if that is in keeping with your brand. However, it is of paramount importance that the quality of the product image itself does not suffer — this means that customers are still able to get the best impression of the product.
How to take great product images in 7 steps
- Set up the background:
Choose any elements you might need for your shots, from decorative elements to background vistas or a blank canvas. Consider the coloring and materials you use. These items should reflect the product you are advertising.
- Arrange the product:
Place your product in the center of your shot for the best exposure. This can also be highlighted by using efficient lighting. If you choose to use decorative elements to create more depth in your image, ensure that your product is not covered too much by the other components. Your product should remain clear in the image.
- Adjust the lighting:
Adjust the lighting so that it works well with your product. Consider whether your product will be best lit up with cold bright lights or warmer natural lights. You may even want to consider using colored lighting depending on the item you are looking to highlight.
- Use a tripod:
Once the background, product, and lighting are ready, it is time to move to the shooting. Set up the tripod to the right height taking into consideration the product placement (on a product table or in a natural environment for example). Ensure that the tripod is secure to avoid any shake in the image.
- Choose the camera and lenses:
Get your camera and choose the right lens. You may want to consider using a macro lens for your textural images as these can get close-ups with the best definition. When doing close-ups, remember to select a higher shutter speed to avoid blur. For images that need to be blown up to a large size or that will require lots of editing, consider shooting in RAW.
- Take multiple shots:
Take multiple pictures from different angles and proximity. This way, when you arrive at the final editing stage, you will have a better chance of having an image that suits your needs.
- Editing and sizing:
The final procedure in making a product photograph to convert sales is the editing process. Ensure you properly format and size your images for your required purposes — there is nothing worse for sales conversions than a low-resolution image. During the editing process, you can also retouch the brightness and color to highlight the best features of your product.
Lights, camera, action!
Taking a great product image can be a fun process, from setting up the background and studio equipment to getting creative with your shooting. However, to get the best results from your e-commerce product photography for your sales conversion, it is key to remember what your product is and who your audience is. Set up your shot with complimenting items and lighting, and remember to shoot pictures that either stir up emotion (lifestyle shots) in the viewer or give them the confidence in the product to buy it (customer, textural, and compatibility photos).