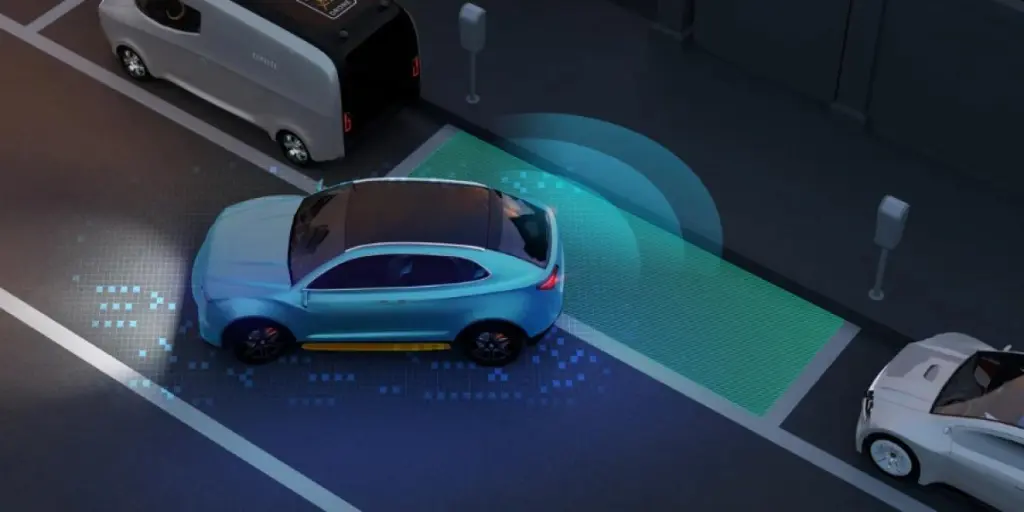
Car headlights help you see the road well and let other motorists see you. For this reason, it is crucial to keep the headlights clean and shiny at all times. As time passes, the car headlights may fail to produce the powerful beams you got used to at the beginning. Oxidation, weather conditions, water vapor, and dirt are the leading causes of your headlights becoming foggy. You can either drive to a repair shop to get them fixed or do the job yourself. Restoring car headlights is easy, and you do not need to spend much money paying the mechanic to do the job for you.
This article will look at the ultimate guide to restoring car headlights. Additionally, it will discuss the reasons why headlight restoration is essential.
Table of Contents
Reasons why headlight restoration is important
Principles of car headlights
The ultimate guide to restoring car headlights
Conclusion
Reasons why headlight restoration is important
1. Safety – headlight restoration improves clarity. This ensures security for passengers in the vehicle as the headlight correctly projects light, improving visibility. It is important to note that oxidized plastic disperses light, and restoration lets all the light through the lenses.
2. Resale value – headlight restoration enhances vehicle appearance. As the headlight covers age, restoration gives them a new radiant outlook. This maintains the vehicle’s overall value; thus, it can be resold closer to the initial purchase value.
3. Range of vision – restoration boosts headlight performance and functionality. The range of vision is greatly improved as restoration removes scratches and clears the cloudy lenses.
4. Saving money – buyers save money by restoring headlights because it could be costly to replace them permanently.
Principles of car headlights
Initially, car headlights were flames that burned behind glass lenses while fed with acetylene gas. Driving at night and in foggy conditions has come a long way. Below are the recent developments in car headlights and how they work.
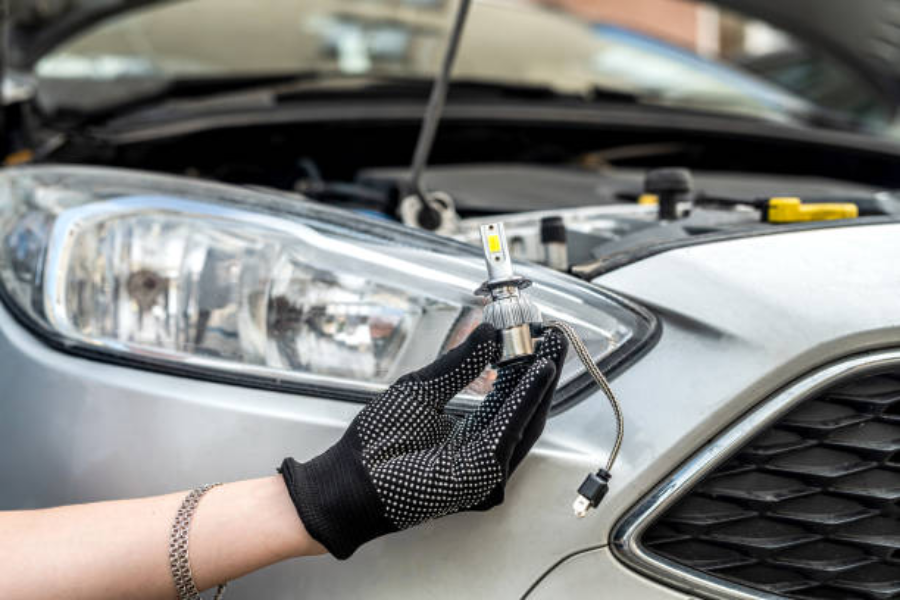
Halogen
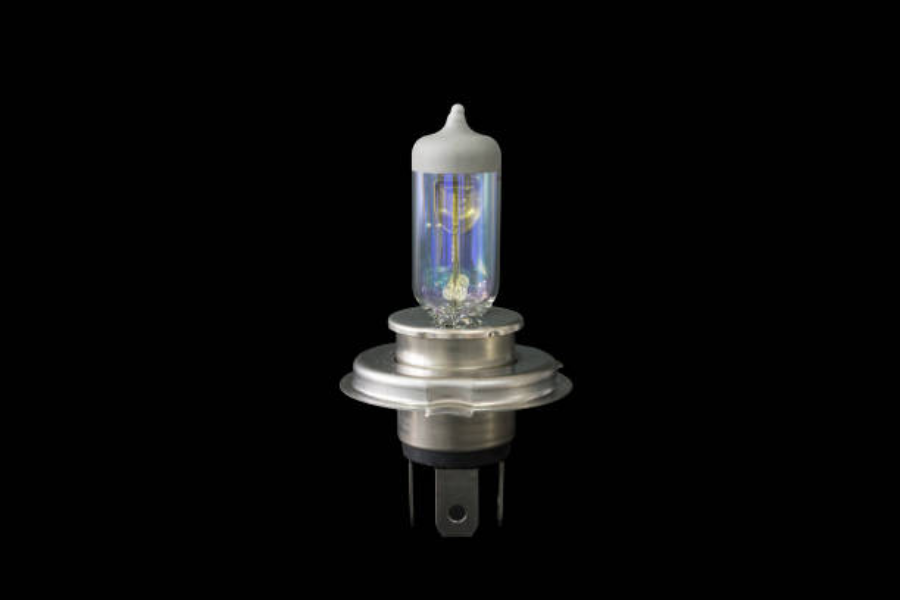
A single bulb of halogen light has a pair of filaments or one filament that emit both dim and bright headlamp functions. Within the bulb, there is pressurized gas rather than a vacuum. The tungsten filament heats up to create light. As the filament becomes hot, the tungsten evaporates; thus, the tungsten molecules attach to halogen molecules. When the bulb is turned off, the filament cools, and the tungsten molecules return to it.
Light-emitting diode
They are usually used for daytime running lights and tail lamps. LEDs are semiconductor devices that emit light when current flows through them. They are very efficient as they are brighter, require little power, and produce light almost instantly.
High-intensity discharge
A xenon, or high-intensity discharge (HID) light, is a gas-filled light. When an electric arc passes through the gas and salt mixture, it heats and creates light. Creating a flash requires high voltage but only a slow ramp-up to create full brightness. As such, most HID lamps use halogen lights for high beams.
Laser
Lasers also use diodes. The distinct factor is the wavelength of the light, which looks blue to the human eye. It is passed through a converter with fluorescent materials, making it look white. They are incredibly bright and offer a more extended range for drivers to see farther on the roads. Laser lights have only been used on vehicle prototypes as their technology is yet to be advanced to make them less expensive and less problematic for some drivers.
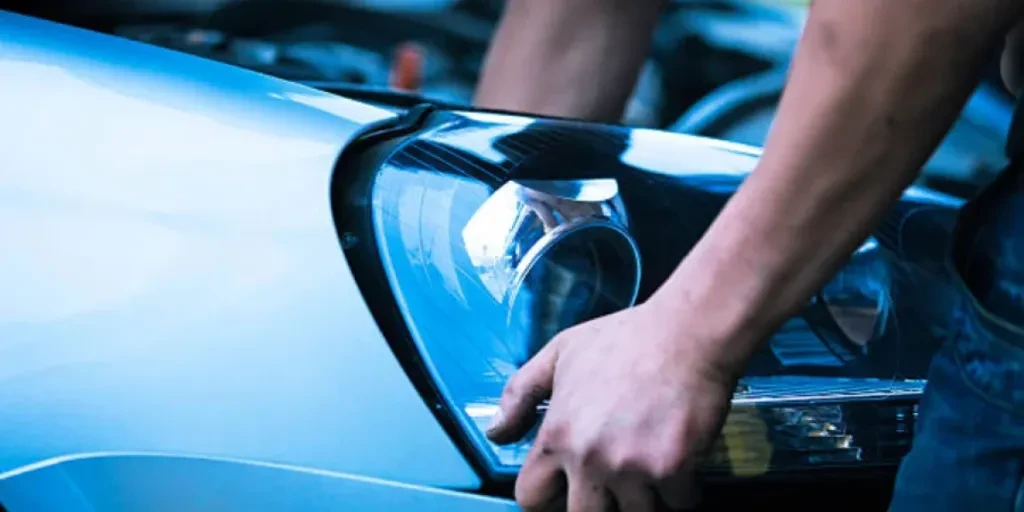
The ultimate guide to restoring car headlights
As soon as you notice your car headlights are affected, save time for the restoration process. You can buy a headlight restoration kit with everything you need or purchase the items individually. Here are the things you will need;
– Painter’s tape
– Soapy water
– A soft dry cloth
– Plain water
– Sandpaper sheets
– UV-resistant sealant
– Paper towel
– Plastic polishing compound
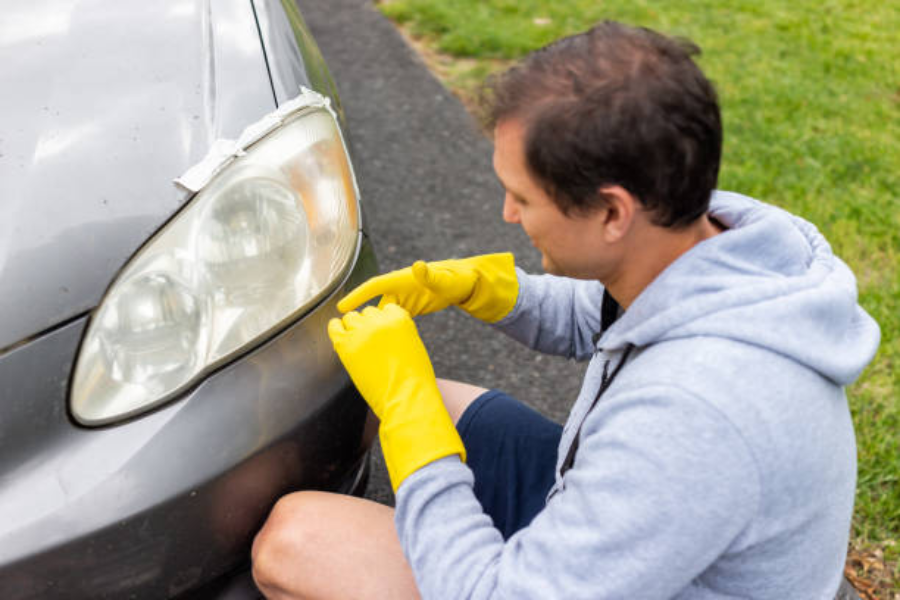
Step 1: Clean your headlights
As the first step, the headlight lenses are thoroughly washed using car soap and clean, warm water. The lenses are then rinsed with plenty of clear water and left to dry. To allow the sticking of the tape, the areas around the headlight are washed too.
Step 2: Tape off the headlights
In this step, the painter’s tape is used to block off the headlight while protecting the rest of the car. This is because only the lenses are to be sanded. Sometimes the hands slip while rubbing; thus, the tape covers the surrounding trim or paint.
Step 3: Sand away
Sanding away is the most vital step. In this process, the kit or the materials are used to do the sanding by starting with the most abrasive sandpaper. Wet the headlight and the sandpaper, then sand the lens in horizontal and straight strokes. The surfaces should be kept wet to prevent scratching the lens.
The process is repeated with less abrasive papers, and the lens is cleaned for the next finer grit. After the horizontal strokes, the less abrasive papers should be stroked diagonally across the headlight. The final sanding motion should be the opposite diagonal.
Step 4: Apply the polish and wax
After sanding away, the headlights are wiped clean. The polish is applied using a clean microfiber towel and rubbed over the lenses in circular motions. Using an orbital buffer makes the polishing process faster. When the lenses are clear, wax is applied to clean them for the final step.
Step 5: Spray the UV-resistant sealant

The sanding process removes the old oxidized sealant. In this step, a paper towel is wetted with the sealant and applied to the lenses in broad strokes. It is vital to fully cover the surface of the lenses while concentrating on the areas of damage. The UV sealant provides a protective layer that keeps the lenses from hazing again. The vehicle should be parked in a dry space to allow curing of the sealant.
Conclusion
Restoring vehicle headlights is cost-effective compared to replacing them permanently. Once buyers notice signs of wear and tear, for instance, if they look yellow, cloudy, or are not bright, they should consider restoring them. This will significantly improve the driver’s view of the roads. It will also reduce maintenance costs and improve the exterior outlook of the vehicle. To find high-performance headlights and the right equipment for your headlight restoration, visit Alibaba.com.