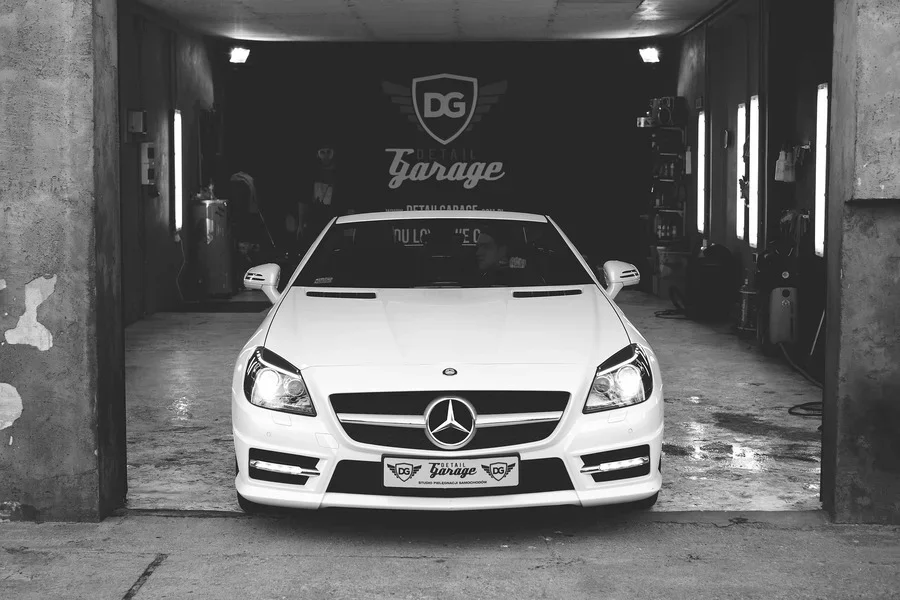
Bumpers are one of the most important parts of any car. They are critical in keeping passengers safe when collisions occur at low speeds.
Over recent years, bumper design and composition have improved drastically. They look better, and their aerodynamic designs give them even more impact absorption capabilities. Due to their placement and vulnerability, bumper painting and repairs are among the most frequent jobs at bodywork and paint shops today, servicing classic cars and the latest models.
With the ever-increasing need for quality repairs, seeing all the modern advancements in bumper production has been great. This article explores several ways to paint plastic car bumpers, followed by tricks to ensure the process goes smoothly.
Table of Contents
Plastic bumper market overview
How long does it take to paint the plastic bumper of a car?
Steps to follow when painting the plastic bumper of cars
Conclusion
Plastic bumper market overview
The automotive plastic bumper market has grown tremendously over the past few years and is slated for even more growth from 2020-2027. As people worldwide move towards owning more vehicles for passenger use and commercial transportation, this will continue to fuel demand for automotive plastic bumpers.
Companies will rely on these products to customize their car designs and make their vehicles safer by providing this sturdy, lightweight component. This feature offers automotive parts manufacturers an additional avenue of revenue streams they can tap into to maximize profits and gain a larger customer base.
Automotive plastic bumpers play an important role in keeping vehicles safe and stylish. The need to conform to safety regulations and the desire for attractive design drives demand, but companies are also committed to innovation. They are investing heavily in research and development of these car parts. A great opportunity is presented by reusing old automotive bumper plastics instead of disposing of them.
How long does it take to paint the plastic bumper of a car?
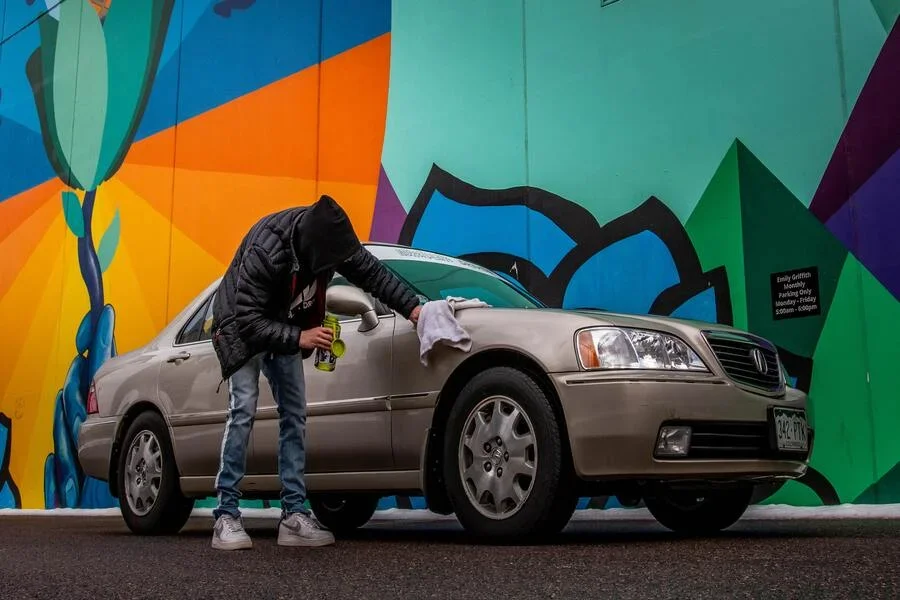
It is now possible to freshen up your car easily and efficiently with a coat of paint.
After finishing the job, clean off any residue from the valve by turning the aerosol can upside down and pressing on its nozzle for 5 seconds. Depending on factors like ambient temperature or humidity levels, it should take around 24 hours until drying is completed.
However, the dust-dryness sets in after just 20 minutes. Tools needed to finish this project include:
- Sanding paper
- Bumper paint
- Something to clean the surface
- Degreaser
- Spray room
Before starting vehicle restoration, ensuring the workspace is properly lit, ventilated, and safe is important. The preparation steps should not be overlooked. If a professional finish is desired, an outdoor workshop may not suffice when outside elements such as wind are at play. If the resources needed for complete bumper refinishing are inaccessible, consider engaging a professional to complete this project.
Steps to follow when painting the plastic bumper of cars
1. Assess the damage
Closely examining the damage is key to finding the perfect repair process. If, for example, it looks like adhesive or welding isn’t necessary since only a surface was affected, then you can be well prepared for working on only the paint job as the structural state remains sound. As an extra precaution, consider marking all flawed areas for better control during repairs.
2. Identify the plastic type
Identifying the type of plastic the bumper is made from is critical. This will help to ensure it will properly adhere to a chosen paint. Look for the code on its inner side, which can be found in manufacturer data sheets and should give insight into whether an adhesion promoter needs to be applied beforehand or not.
3. Clean and prepare the bumper
To achieve flawless repainting, starting with a clean surface is important. Car owners can either remove the plastic bumper cover or mask off any surrounding car body parts before beginning work.
Before painting begins, use soapy water and a degreaser, such as a kitchen soap, to clean away dirt and oil residue. This may require some elbow grease, but it is key to achieving great results.
After scrubbing surfaces thoroughly with hot water from top-to-bottom (and don’t forget those hard-to-reach crevices), finish by wiping down all areas using tack cloths. This will ensure no waxy buildup is left behind, leaving the bumper clean and ready for spray paint perfection.
4. Apply a base coat

The base coat of paint must be good enough to achieve a lasting finish. Nobody wants dribbles, splatter, or runs in their final product. Before beginning the paint job, the owners should activate the spray can or gun and protect themselves with a mask or respirator for safety against carcinogens.
Apply paint from 9-12 inches away at light passes that overlap about 50%. Continue these overlapping light coats until the whole area has been painted.
After the initial coat of paint dries, examine it closely for any irregularities. If any are found, quickly and easily spray over once more to achieve a perfectly smooth finish. Then apply two additional coats so that the project has been given its full three layers.
Applying this finishing touch gives an enviable ‘showroom glow,’ but there’s one final piece in the painting puzzle – adding a clear topcoat!
5. Apply a clear coat
Apply the clear coat with three evenly-spaced coats for a perfect, glossy finish on the car bumper covers. Keep an ideal distance of 9-12 inches away using a can or a clean spray gun, and make sure to overlap each pass by 50%. After sanding a fresh layer of paint, wipe down the bumper cover with an impeccable tack cloth for perfectly polished results.
If there are any runs in the paint job afterward, simply use 600 grit sandpaper to wet sand them. Wait at least 6 hours between each coat, then let it completely dry before attaching the bumper back onto the vehicle.
Conclusion
With plastic materials playing an important role in car exteriors, expertly restoring them requires careful attention to detail. Painting a plastic replacement bumper can be an incredibly satisfying DIY project for some car lovers. It requires dedication and enthusiasm, but will offer one a chance to feel proud of how it turns out – regardless of whether the finish is perfect or not.
Meanwhile, professional bodywork and paint shops rely on bumper repairs to stay profitable. They need to understand plastic materials’ unique characteristics to give their customers a quality finish every time. The steps mentioned above are essential for successful car bumper painting projects.