Car brakes are one of the things that keep drivers safe. Things can take a deadly turn if they malfunction. However, most vehicles give some kind of indication when brake parts need replacement.
The brake system is something auto businesses must cross-check before selling any vehicle. This article explores how retailers can maintain or replace brake pads and rotors for consumer safety and satisfaction.
Table of Contents
Why it’s important to replace brake pads and rotors
Needed tools and components for brake pad and rotor replacement
12 steps for brake pad and rotor replacement & maintenance
Things to consider before replacing brake pads and rotors
In conclusion
Why it’s important to replace brake pads and rotors
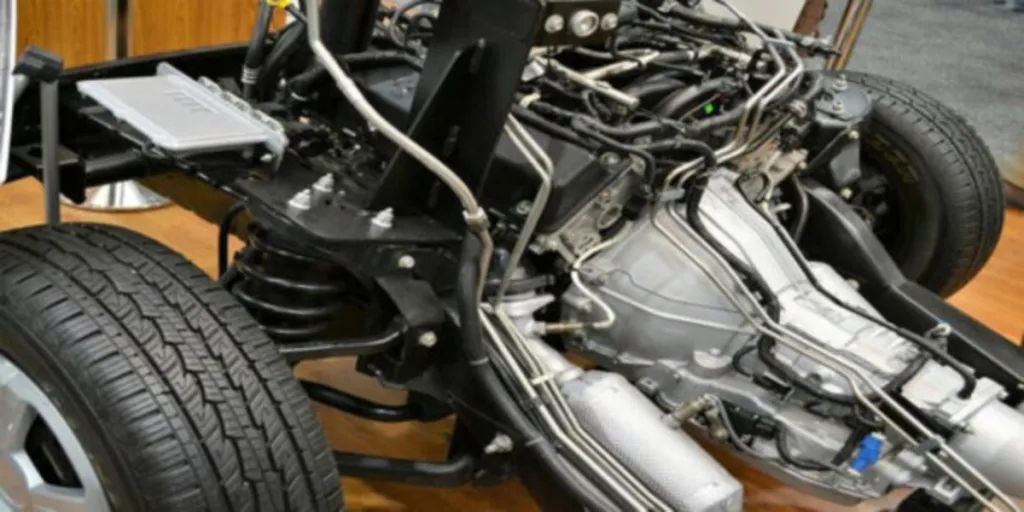
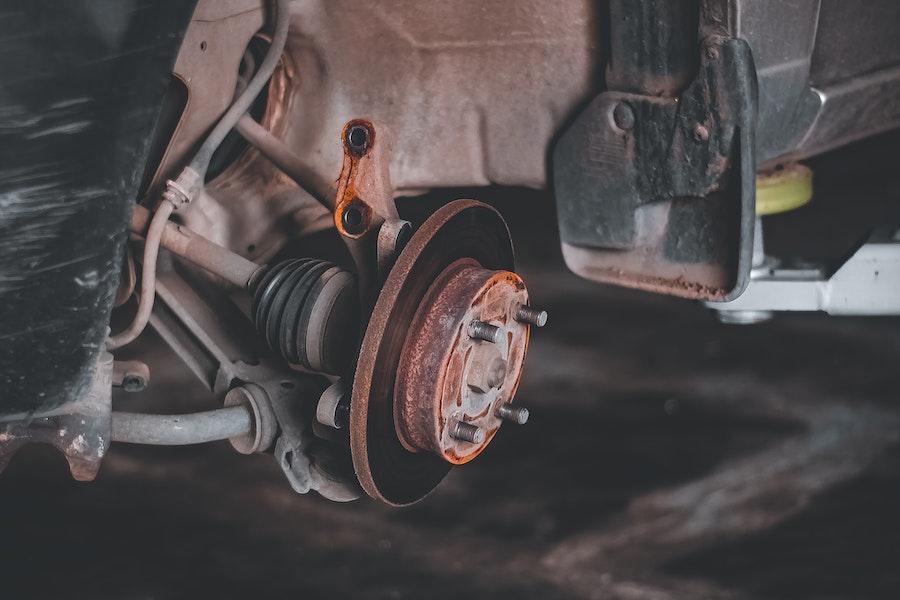
Most recent cars feature front disc brake systems that wear out faster than their rear brake counterparts. Hence, it’s crucial to maintain and replace them often.
Sellers may need to change brake pads when they thin out, especially when they start making annoying metallic grinding or squealing noise—after pressing the brake pedal. However, dealers shouldn’t get comfortable with only noise indication, as it can be unreliable.
They must carry out consistent maintenance to check the thickness of their vehicle’s brake pads. Surprisingly, it’s easy to replace brake pads. And sellers can do it themselves without special tools or the help of a mechanic.
The cost of brake pad replacements can vary and may depend on several factors. Some of these factors include the type of vehicle, braking system, and replacement pads (original, aftermarket, or performance). For a general estimate, businesses can expect to pay $115-250 per axle for most cars and more for performance or luxury vehicles.
Needed tools and components for brake pad and rotor replacement
Brake discs and pad replacement can take approximately 1 hour to complete. Dealers will need the following tools and materials to ensure they see the process to the end.
- Disposable mechanic’s gloves for protection and cleanliness
- Plastic tie, piece of string, or bungee cord
- Lug wrench
- Wrench (opt for an open-end of adjustable socket wrench)
- Jack and jack stand
- C-clamp
- Turkey baster
- Brake fluid (check the manual for the correct type)
- Replacement brake pads
12 steps for brake pad and rotor replacement & maintenance
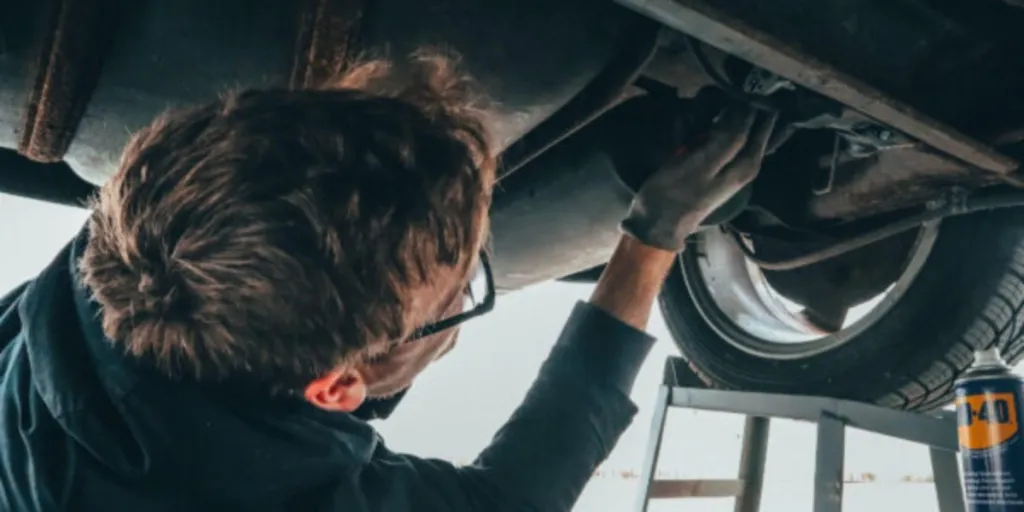
Take off the wheel
The brake disc and pad system are usually behind the front wheels. So dealers must take them off to access them. Start by loosening the wheel’s lug nuts and jack the car up before placing a jack stand beneath the frame.
Then, remove the wheel to safely reach under the car and work on the brake assembly.
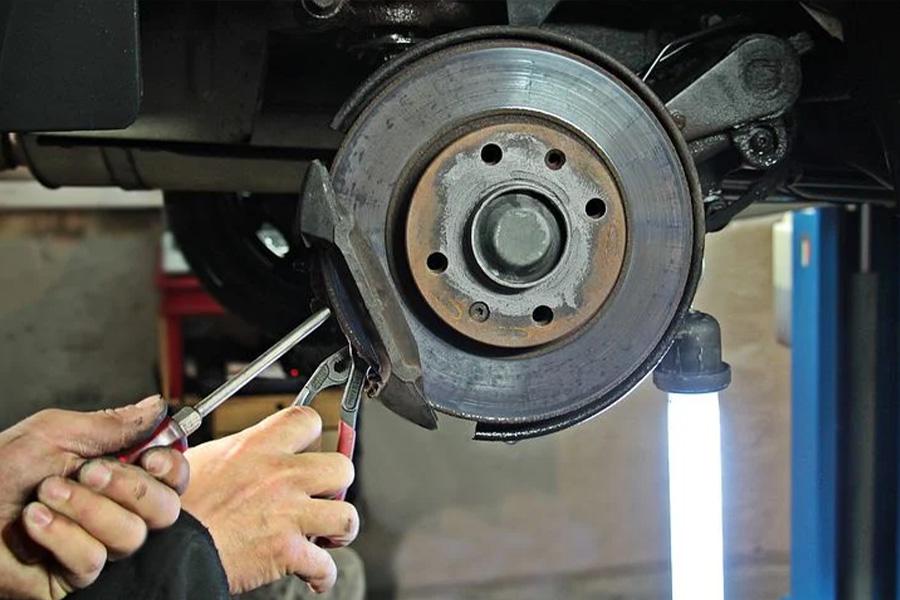
Detach the slider bolt
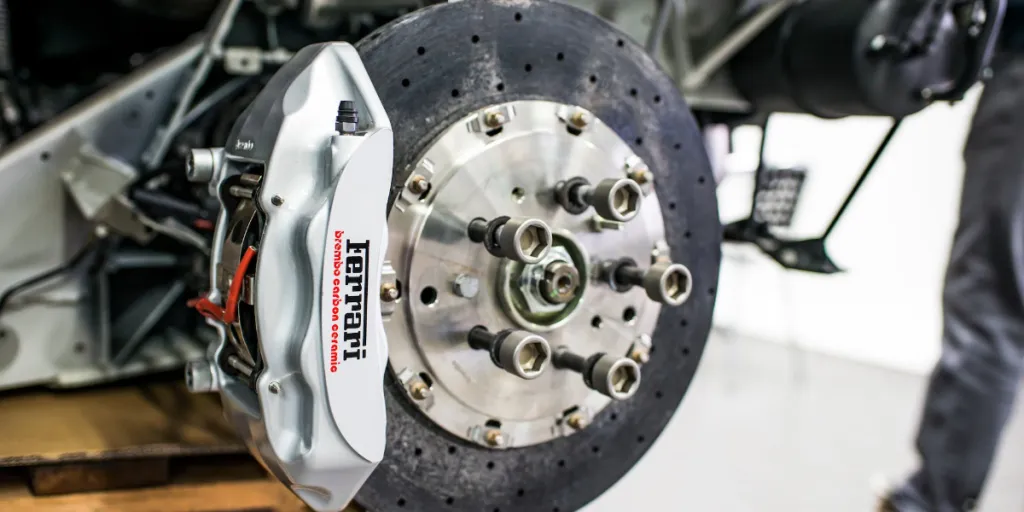
After removing the wheels, dealers should locate two slider bolts or pins securing the caliper. The bolts may be inside the assembly, depending on the car type, and sellers only need to loosen the lower bolt. It may take a while, but the bolt will slide out easily when loosened.
Rotate the caliper upwards
With the lower bolt out of the assembly, sellers should rotate the brake caliper upwards. The flexible rubber hose will allow this movement without disconnecting the hydraulic brake lines.
Now, it will be easy to inspect the brake pad’s thickness and confirm if it needs replacement. Most brake pads feature metal wear indicators. These are small metal tabs that squeal when contacting the brake rotors.
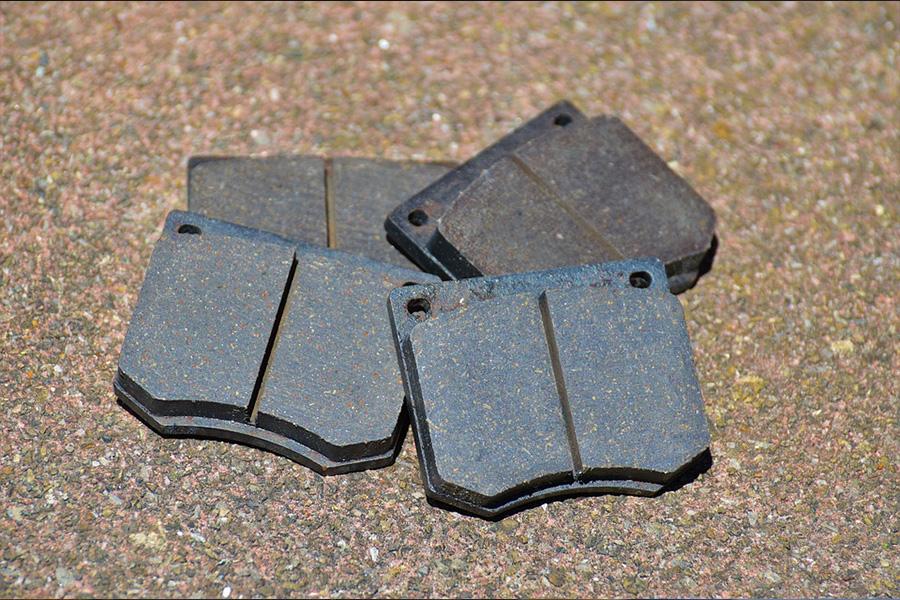
The brake pads will also need replacement if the friction material is less than one-eighth of an inch thick.
Extract the former brake pads
Now that the brake pads are exposed, the retaining clips should hang loosely in place. Dealers can easily slide the former brake pads out.
Replace the retaining clips
Generally, new pads come with fresh retaining clips, so there’s no need to use the old clips. New retaining clips will allow the brake pads to move back and forth smoothly.
Retaining clips also don’t need screws. They can easily snap in place. Usually, sellers will find right-handed and left-handed clips, so they should change one at a time. Dealers must ensure the clips match.
New brake pads may also come with graphite-based grease. Sellers can apply these small packets to the new clips to prevent them from squeaking.
Install fresh brake pads
Installing fresh brake pads won’t give any issues. They will slide in easily like the old ones did when removed. But newer pads may have tighter fits. The brake pads’ ears should also slide into the brake grease.
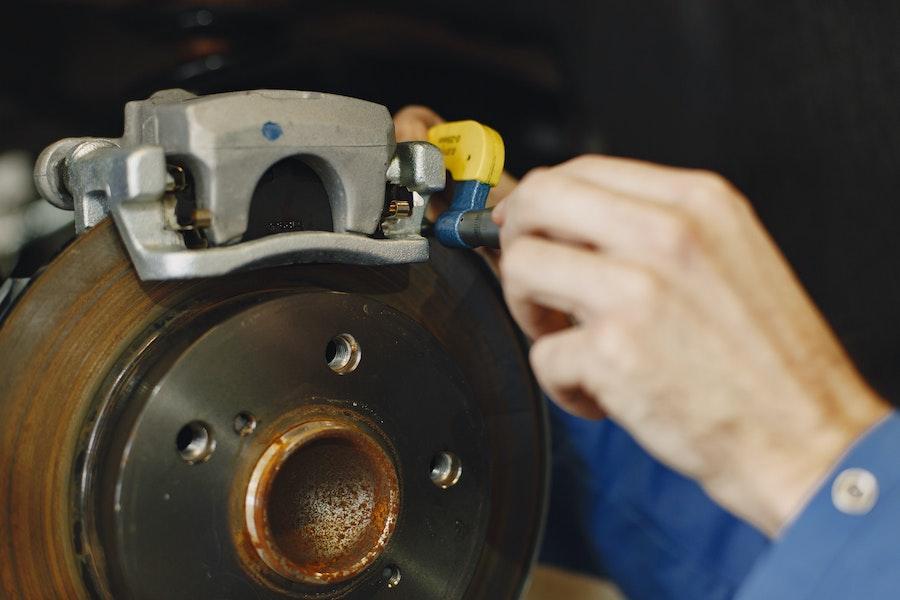
Withdraw the pistons
Sellers must retract the pistons before lowering the caliper back to its position. Pistons squeeze the rotor and press on the brake pads to halt vehicles. Retracting them with a C-clamp would clear the fresh and thicker brake pads.
Sellers must exercise patience and control pressure to avoid damaging anything. If there are two pistons present, dealers must push the two together to prevent one from popping out.
Examine the brake fluid level
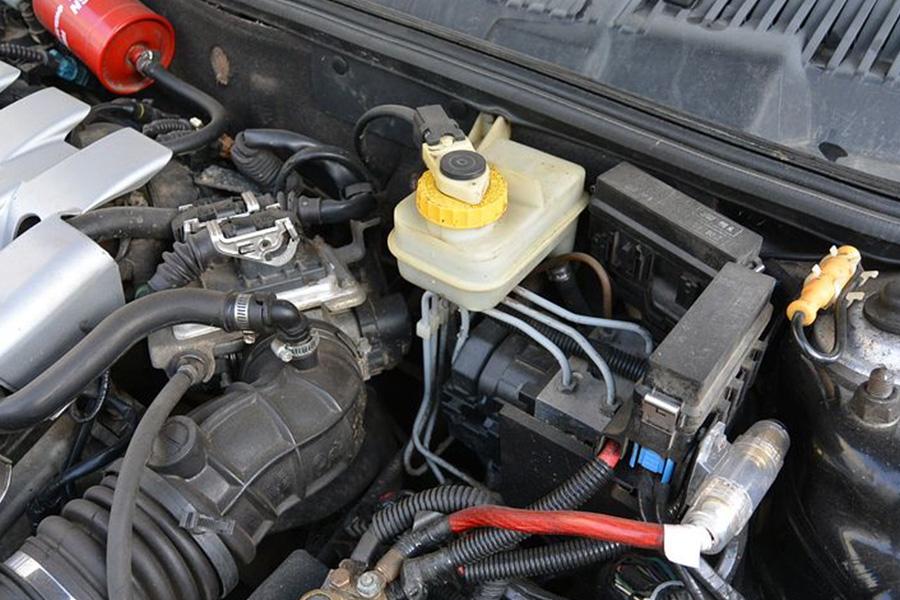
Withdrawing the pistons would slowly increase the brake fluid level. Retailers should check the master reservoir continuously during this process. This step is critical when working on the second brake pad.
The combined brake fluid of the two calipers may cause the reservoir to overflow. In such cases, dealers can use a turkey baster to remove most of the fluid. Everything will be fine if the brake fluid’s level doesn’t go beyond the minimum.
Change the caliper’s position
After retracting the pistons, dealers can slip the caliper over the pads effortlessly. Most times, it will fit tightly but won’t be a problem. However, sellers will need to check the retraction process if the pistons catch on the brake.
Restore the slider bolt
Sellers must ensure they restore the lower slider bolt. They must also tighten it adequately and straighten the car’s wheels. Then, they can reinstall the front tire and retighten the lug nuts.
Do the same for the other side
Since there are two front brake pad systems, dealers must repeat all the steps for the other side. Don’t forget to watch the brake fluid level. It may go higher when the pistons are withdrawn, so keep the turkey baster close by. Retailers must top up the fluid if the level goes below the max.
Go for a test drive
Finally, dealers should test drive the car under safer conditions. This final step will help ensure everything works correctly. Remember to be careful with the first few stops.
Things to consider before replacing brake pads and rotors
Understand the car’s caliper assembly
Before doing anything, sellers must know their vehicles’ caliper assembly. Most cars feature sliding-caliper brake assembles, while others have fixed-caliper variants.
Do one side first and then the other
Dealers should not attempt to replace both front brake pads at the same time, They should always focus on one side from start to finish before moving to the next. Also, sellers can turn the steering wheel to set the front wheel at a comfortable angle for easier access to the brakes.
In conclusion
Brake pads and rotors are so sensitive that the slightest noise could be a warning. Dealers will want to replace brake pads and rotors when it starts making squealing or grinding noises.
Some vehicles may feature brake pad sensors that can flash warnings when something is wrong. Other vehicles feature metal pieces that become visible when the pad goes below a certain thickness.
Several reasons can cause brake failures. So, businesses must ensure they diagnose a car’s engine and maintain or replace its brake pads and rotors before putting it up for sale.