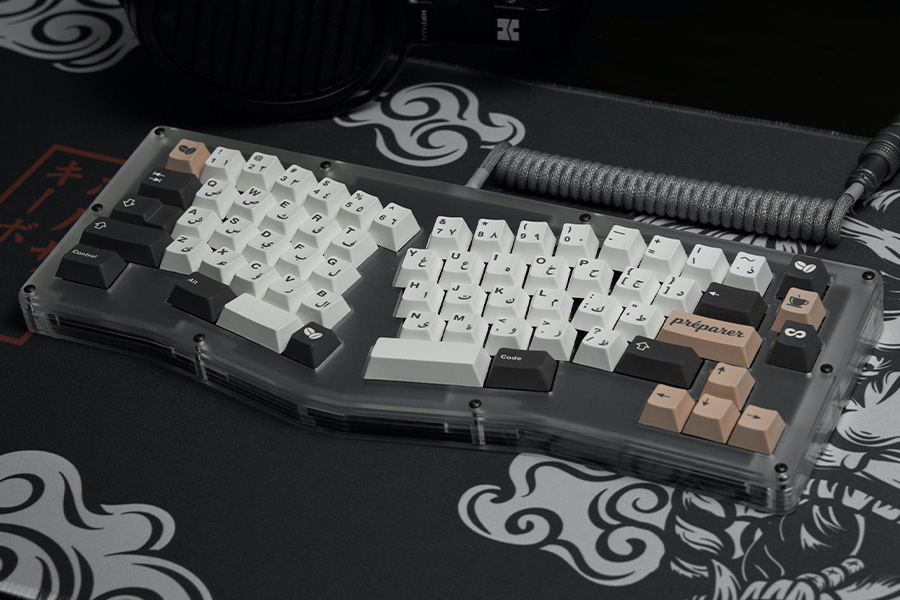
A mechanical keyboard is made with high-quality key switches underneath each keycap. They’re different from laptop keyboards and are likely what most people picture when they think of keyboards, with the classic sturdy look of desktop computer keyboards in the 1980s.
Mechanical keyboards are the number one choice for gamers and other computer enthusiasts. People enjoy building their own custom mechanical keyboards to fit their preferred specs, and this DIY touch comes with a sense of pride and accomplishment. So read on for a guide on how to purchase and assemble your own mechanical keyboard.
Table of contents
Mechanical keyboard trends
What you will need to build a mechanical keyboard
Things to consider before buying parts
Step-by-step guide
Conclusion

Alt text: mechanical keyboard for gaming
Mechanical Keyboard Trends
Many people prefer mechanical keyboards because they’re faster, more precise and responsive to keystrokes, more comfortable, and easier to type on. Plus, they last longer than membrane keyboards. Of course, mechanical keyboards have a few downsides – they’re heavier, louder and more challenging to clean.
Most PC gamers prefer mechanical keyboards because they’re more tactile, durable, and faster. When typing on a mechanical keyboard pressing down on a keycap activates a physical switch underneath that’s spring-loaded. So, when the key is pressed, you feel it and hear a ‘clicking’ sound to let you know you’ve pushed the key hard enough to register.
At the beginning of 2022, there were 2.8 billion active gamers worldwide, and Techjury predicts it will surpass 3 billion by 2023. Of those gamers, approximately 1.8 billion are PC gamers (gamers that use a PC rather than a console like Xbox or Playstation). One of the major reasons gamers are attracted to PC gaming is because of the customizability of computers.
The mechanical keyboard community on Reddit has 1.1 million members today, and the Build a PC community has 5.9 million members. This highlights the popularity of the DIY approach to computers, with mechanical keyboards being an essential touch.

What’s needed to build a mechanical keyboard
Here are the parts and tools needed to build a custom mechanical keyboard:
| Parts Required | Options Available |
| Keyboard Case | Plastic, Aluminum, Acrylic, Brass, or Polycarbonate Material |
| Plate | Aluminum, Steel, Brass, Carbon Fiber, POM… |
| Circuit Board (PCB) | Sizes: 40%, 60%, 65%, 75%, TKL, 1800-Compact, or Full-Sized |
| Stabilizers | |
| Switches | |
| Keycaps | Material: ABS or PBT |
If you’re new to building computers, you may not have thought about some of the essential tools you will need to build your custom mechanical keyboard. These include:
- Adjustable Soldering Iron: TS100
- Solder Sucker: Engineer SS-02
- Solder Wire: Kester 63/37 SN/PB
- Switch Puller: Antistatic Extractor Tool
- Precision Screwdriver Kit
- Wire Keycap Puller
There are some additional tools are nice to have and may make the project easier but aren’t essential. These include:
- Soldering Stand
- Heat Insulated Mat
- Magnetic Holding Trays
- Switch Opener
- Switch Lube for Switches
- Paintbrushes (for lubing switches – size 00)
- Anti Static Tweezers
- Pronged Pick-up Tool
Gateron switches and Kailh switches: Which is better?
While you can’t necessarily go wrong with either brand, one may better suit your needs than the other. Let’s look at the pros and cons of Gateron and Kailh switches.
Gateron switches
| Pros | Cons |
| Smooth feelReliable and long-lastingCustomizable featuresRapid execution of keys | May be too loud |
Kailh switches
| Pros | Cons |
| Fast keystroke responsesShorter travel and key activation distanceEasy to clean | Scratchy feel |
The main difference between these switches is that Gateron is more durable and has faster actuation force, while Kailh is more tactile.
| Properties | Kailh Switches | Gateron Switches |
| Colors | Black, brown, red, white, bronze, copper, silver purple | Clear, red, black, blue, green, brown |
| Peak actuation | 60g | 80g |
| Lowest actuation point | 27g | 35g |
| Behaviors | Linear, tactile, clicky | Linear, tactile, clicky |
Things to consider before buying parts
Before buying parts, you must first consider what you’re looking for in a mechanical keyboard. You’ll need to figure out:
- What size keyboard
- What features are important to you
And you might also want to consider shipping times if you buy all the parts individually.
Step-by-step guide to building a custom mechanical keyboard
Once you have all the parts and tools, it’s time to start building. Here is a step-by-step guide to building your custom mechanical keyboard.
Step 1: Test the PCB to make sure it works
Before putting it together, you want to ensure everything is working to ensure you didn’t receive a product with any defects.
You can test the printed circuit board (PCB) by using this free site which allows you to test each switch and key on your keyboard.
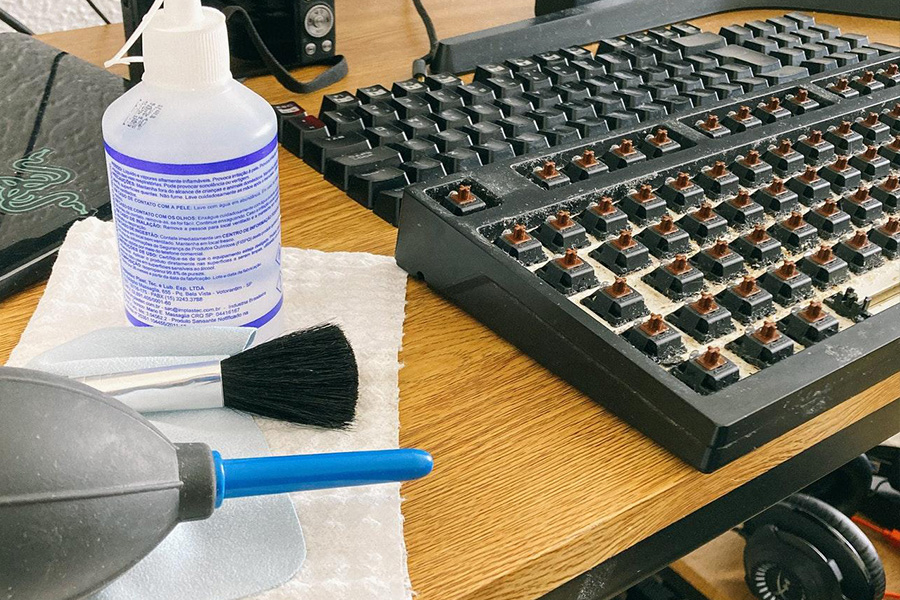
Step 2: Lube the switches (Optional)
While this step is optional, lubing the switches is one of the most significant upgrades you can make to your mechanical keyboard build. It will significantly improve how the switches feel by reducing spring ping noise, improving keystrokes, and reducing scratchiness.
You need to pull apart every switch and apply lube to the lower housing, spring, stem, and upper housing. It will take a few hours, but it’s worth it.
Step 3: Install stabilizers in the PCB
Install stabilizers into the PCB. Make sure they’re placed in the correct areas because it will be challenging to move them later.
Step 4: Install switches into the plate & PCB
Press the switches into the plate and allow the pins to enter the PCB. Ensure everything is located correctly and none of the pins are bent.
Step 5: Solder switches
Next, solder the switches (unless you have a hot-swappable PCB). Slowly work through each switch and solder the two metal pins to the PCB.
It can be a bit intimidating for those who have never soldered before, so consider learning first on a may pad. It’s a great way to understand how to solder and practice making the perfect-sized beads.
When soldering, ensure you’re in a well-ventilated area and have all the necessary tools.
Note: Make sure to re-test the PCB to ensure everything is working after all the switches have been soldered.
Step 6: Add foam and rubber feet to the case
The case should come with rubber feet (unless they’re pre-installed). It’s best to install them at this stage, and your keyboard case should come with simple instructions.
The foam is optional, but it can improve the keyboard’s acoustics.
Step 7: Install the assembled PCB into the case
Typically, installing the PCB simply involves screwing the PCB into the case. However, depending on the case mounting style, it could be different. See the keyboard instructions for assembly.
In this step, you want to ensure the PCB is centered in the case and doesn’t shake after installation.
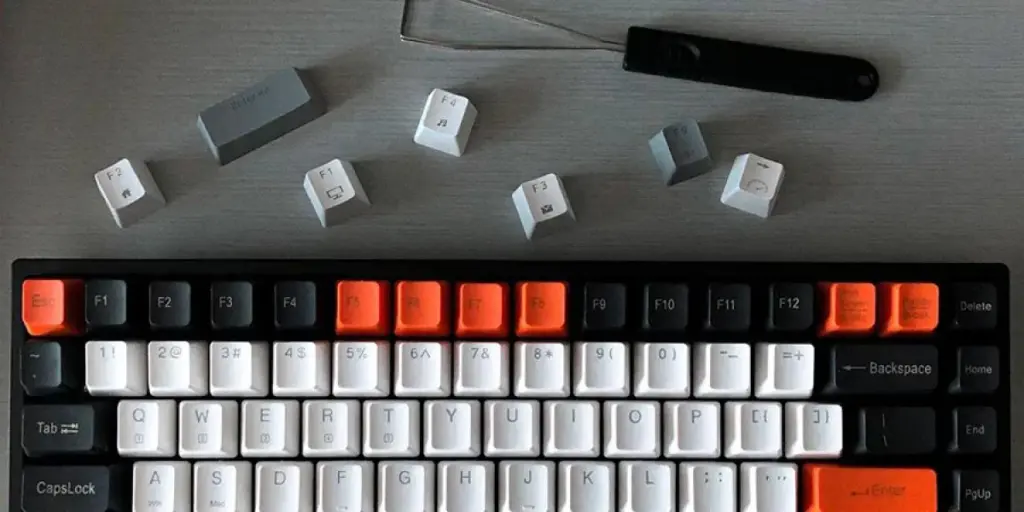
Step 8: Install the keycaps
Installing the keycaps is the most exciting part as it brings the mechanical keyboard together. Make sure to install them in the right place.
Step 9: The typing test
The final step is the typing test to ensure everything is working correctly and feels good to use.
Conclusion
Mechanical keyboards are becoming increasingly popular because they provide a better typing experience. They’re especially popular among the PC gaming community, who are inclined to build their own computers to fit their personal needs.
Learning how to build a custom mechanical keyboard is a great first step in learning how to build a custom computer. All the necessary parts, including switches, stabilizers, circuit oard (PCB), keycaps, and keyboard plate and case can be found at great prices when bought in bulk and wholesale on Alibaba.com.